

How To Create 3D Social Media Images?
Cotgin Analytics
06-Jun-2024
Making 3D photos for social media can significantly enhance your online presence by adding more dimension and interaction to your content. An SMO company can help you choose the appropriate tools for your needs. For 3D creations and rendering, Blender is a free and open-source program, while Autodesk Maya offers professional-grade 3D creation. For users seeking an easier option, Adobe Dimension is a great choice.
The first thing to do is to conceptualize your image after you have your program. Consider your intended message and how a 3D image may support it. Drawing out your concept on paper can be beneficial. Once your idea is complete, launch the program of your choice and begin with the fundamental shapes. For example, you can start building the foundation of your model in Blender by adding easy forms like cubes, spheres, and cylinders.
Understanding 3D Social Media Images
When seen with typical 2D photographs on social media, 3D graphics give a more immersive experience. They add hardness, which provides things with a more realistic and captivating appearance. In particular, these photos work really well on Facebook, Instagram, and LinkedIn.
Planning Your 3D Image
It's important to outline your project before you begin working on your 3D image. Think about the following:
- Purpose: Establish the purpose of your 3D image. Is the purpose to spread a message, improve brand engagement, or market a product?
- Target Audience: The intended audience recognizes the tastes of your audience and the kinds of 3D content that would interest them.
- Platform: The requirements for 3D material vary throughout social media networks. Get acquainted with the rules of the site you plan to utilize.
Choosing the Right Tools
To create 3D images for social media, you can use a wide range of tools and software. Several well-liked choices consist of:
- Blender: A 3D buildup item that is free and open-source and helps the full 3D workflow, from modeling to rendering.
- Adobe Dimension: An easy to use program that lets you make stunning 3D images and sceneries.
- Tinker CAD: An indulging web based 3D creation tool that's best for novices.
- Cinema 4D: A professional 3D creation , animation, and immersive program is called Cinema 4D.
Creating the 3D Model
Creating a 3D image for social media usually entails the following steps, and partnering with a professional social media company in Noida can streamline the process:
a. Idea and Planning
Begin with a well-defined idea. Use a computer drawing tool or make a physical sketch of your thoughts. This is going to be your 3D model's blueprint.
b. Creating models
Make the 3D model with the software of your choice. For instance, in Blender, you can begin by:
- Launching Blender and choosing the standard cube.
- Shape your model by manipulating the cube with the move, scale, and rotate transform tools.
- applying more basic shapes and merging them, or sculpting details with tools.
c. Texturing
To make your model look realistic, add textures to it. This includes:
- UV Unwrapping: displaying the scene of a 3D model onto a 2D Image.
- Creating or importing textures: To create textures, use pictures or other photo editing tools, or search the internet for textures.
- Texture application: In your 3D program, apply the design to the creation's surfaces.
d. Illumination
To create realistic 3D photos , lighting is important. To get the necessary change, try different light sources and placements. In the blender:
- Add a light source, such as the star or sun, a point of light, or an area light.
- Change the light's hue and intensity.
- Put the light such that it generates the model's necessary features.
e. Rendering
Your 3D model is rendered into a 2D picture. To obtain the required resolution and excellent quality, modify the rendering settings. In the blender:
- Determine the camera's angle: Set up the camera to get the finest possible shot of your model.
- Select the render settings: Choose the right resolution, sample size, and output format parameters.
- Render the picture: Once the rendering process has begun, save the finished picture.
Optimizing for Social Media
After rendering, make your 3D image social media-friendly by optimizing it:
- Resize the image: Modify the size to comply with the platform's specifications.
- Compress the file: Slash the file size without sacrificing quality in order to guarantee fast loading times
- Add overlays or text: Get help from a graphic design company in Noida with programs like Adobe Spark or Canva to incorporate text or branding features.
Posting and Promoting
It's time to upload your complete 3D image to social media:
- Write an engaging caption: create a catchy phrase to go with your 3D picture.
- Use relevant hashtags: Excel exposure by using leading and pertinent hashtags.
- Schedule your post: Employ social media scheduling applications such as Hootsuite or Buffer to plan the best times to publish.
- Engage with your audience: To promote a feeling of unity, reply to user comments and interact with other users.
Analyzing Performance
After upload your 3D picture, analyze its performance:
- Track metrics: Monitor likes, shares, comments, and reach.
- Use insights: Utilize platform-specific insights and analytics tools to understand audience engagement.
- Iterate and improve: Based on the performance data, improve your steps for future 3D social media pictures.
Conclusion
A complete understanding of 3D creation and rendering processes, together with the necessary tools, are important for generating high-quality 3D social media pictures. These techniques can help you create captivating and appealing 3D visuals that will better your online presence and draw in consumers.
Read Also - Best Social Media Management Tools In 2024
Other Recent Blog

What Is Generative Engine Optimization (GEO)?
Cotgin Analytics |14-Oct-2024

Best Digital Marketing Strategies For Healthcare Industry
Cotgin Analytics |10-Oct-2024

Benefits Of Personalized Marketing For Your Business
Cotgin Analytics |08-Oct-2024

A Step-By-Step Guide To Create Google Web Stories In WordPress
Cotgin Analytics |26-Sep-2024
How To Find Low-Competition Keywords For SEO?
Cotgin Analytics |23-Sep-2024

10 Free Ways To Promote Your Business
Cotgin Analytics |19-Sep-2024

Top Digital Marketing Strategies For B2C Brands
Cotgin Analytics |17-Oct-2024

How To Increase Engagement On Instagram?
Cotgin Analytics |16-Sep-2024
Top 7 Duplicate Content Checker Tools For Website Content
Cotgin Analytics |13-Sep-2024

10 Tips to Create A High-Performing PPC Campaign
Cotgin Analytics |09-Sep-2024

6 Digital Marketing Strategies For Startups
Cotgin Analytics |06-Sep-2024

What Is Core Web Vitals And How To Audit Them?
Cotgin Analytics |03-Sep-2024
List Of All Facebook Offices In India
Cotgin Analytics |22-Aug-2024

Digital Marketing Strategy For Manufacturing Companies
Cotgin Analytics |13-Nov-2024

What Is B2B SEO? And Tips To Build Your B2B SEO Strategy?
Cotgin Analytics |11-Nov-2024

Best Digital Marketing Strategies For Doctors
Cotgin Analytics |06-Nov-2024

Top 10 Digital Marketing Strategies For Travel Agencies In India
Cotgin Analytics |30-Aug-2024
How To Increase Website Authority?
Cotgin Analytics |26-Aug-2024

What Is A Canonical URL?
Cotgin Analytics |20-Aug-2024

Does Your Domain Name Affect Your SEO?
Cotgin Analytics |14-Aug-2024

10 Tips For Writing Headlines That Boost Your Click-Through Rate
Cotgin Analytics |12-Aug-2024

10 Common SaaS SEO Mistakes And How To Avoid Them In 2024
Cotgin Analytics |08-Aug-2024

How To Create 3D Social Media Images?
Cotgin Analytics |06-Jun-2024

What Is Spam Link And How To Avoid Spam Links On Your Website?
Cotgin Analytics |01-Aug-2024
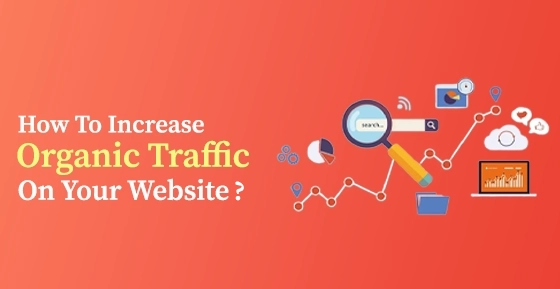
How To Increase Organic Traffic On Your Website?
Cotgin Analytics |30-Jul-2024
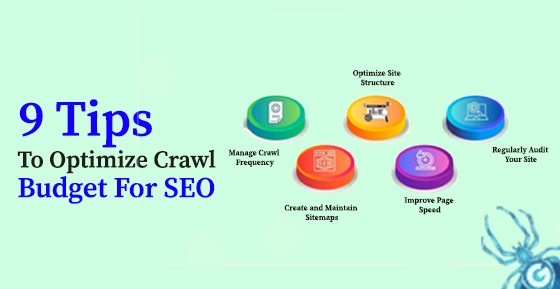
9 Tips To Optimize Crawl Budget For SEO
Cotgin Analytics |25-Jul-2024
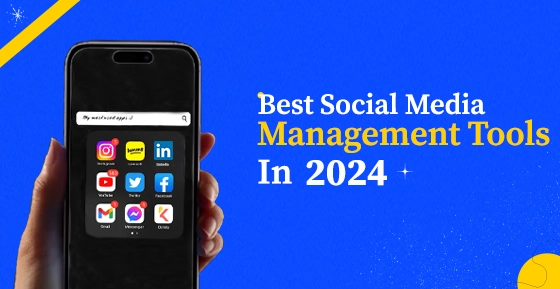
Best Social Media Management Tools In 2024
Cotgin Analytics |23-Jul-2024

How To Write High-Quality Content in 2024
Cotgin Analytics |15-Jul-2024
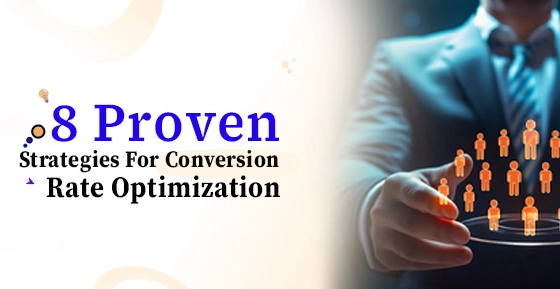
8 Proven Strategies For Conversion Rate Optimization
Cotgin Analytics |04-Jul-2024

8 Effective Social Media Marketing Strategies For Business Growth
Cotgin Analytics |26-Jun-2024
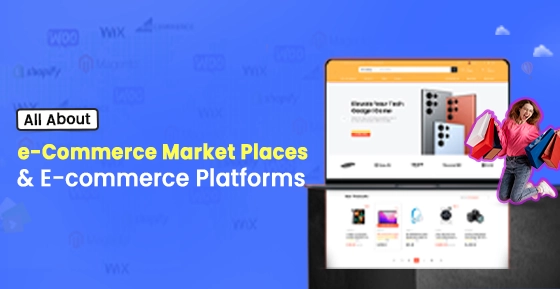
The Best e-Commerce Market Places for Business - Leading Platforms
Cotgin Analytics |18-Jun-2024

The Future of Blockchain Technology in Digital Marketing
Cotgin Analytics |11-Jun-2024
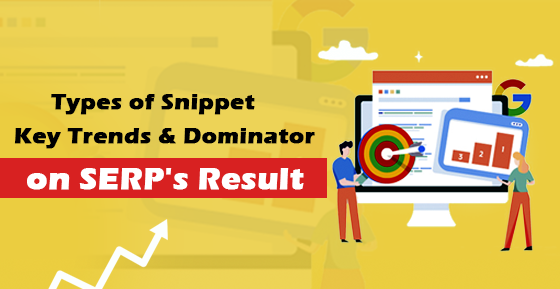
Different Types of Featured Snippets - A Shortcut to the Top of Google
Cotgin Analytics |04-Jun-2024

Future of SEO: Expect from Google's AI Updates
Cotgin Analytics |28-May-2024
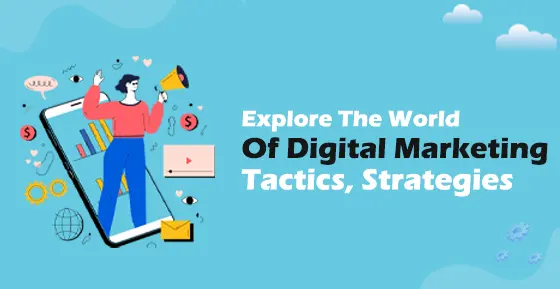
Exploring the Digital World - with the Help of Digital Marketing Strategy
Cotgin Analytics |21-May-2024

Instagram for Business - Grow Your Business and Drive Results
Cotgin Analytics |14-May-2024

Types of Mobile App Development Services - the Era of 5G
Cotgin Analytics |06-May-2024

Best AI Tools for Business Marketing and Success
Cotgin Analytics |29-Apr-2024
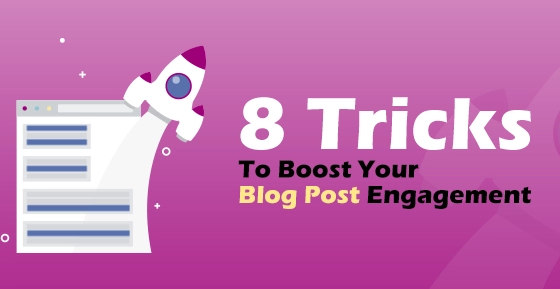
How To Increase Blog Engagement & Drive More Interaction?
Cotgin Analytics |08-Apr-2024
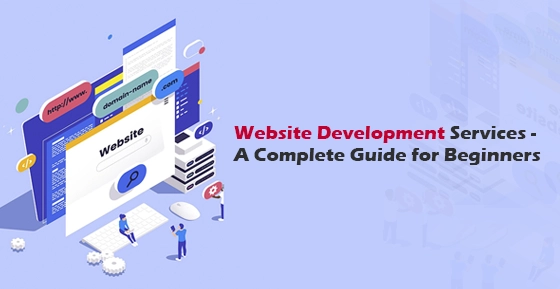
Website Development Services: A Comprehensive Guide
Cotgin Analytics |03-Apr-2024

7 Reasons Why Your Website Has A High Bounce Rate
Cotgin Analytics |01-Apr-2024

7 Ways To Increase Your Mobile App Downloads
Cotgin Analytics |28-Mar-2024

10 Email Marketing Strategies To Maximize Your Earnings In 2024
Cotgin Analytics |26-Mar-2024
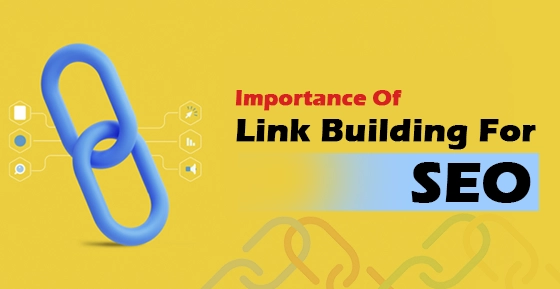
Importance of Link Building For the Success of your Website
Cotgin Analytics |22-Mar-2024

Useful ChatGPT Prompts To Create An Outstanding Mobile Application
Cotgin Analytics |21-Mar-2024
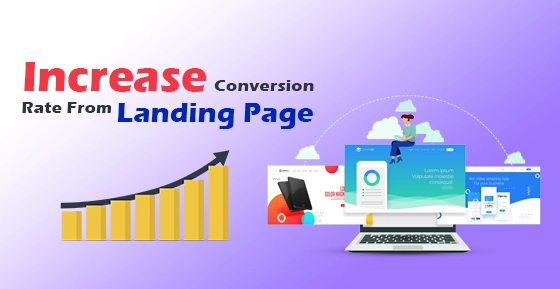
How To Increase Conversion Rate From Landing Page?
Cotgin Analytics |18-Mar-2024
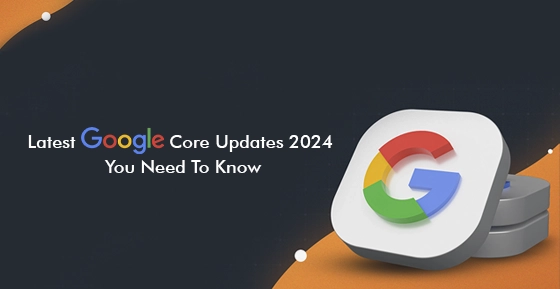
What Digital Marketing Company Should Know About Google’s Core Updates 2024?
Cotgin Analytics |15-Mar-2024

What To Keep In Mind While Redesigning A Website?
Cotgin Analytics |12-Mar-2024

Top 8 Video Marketing Strategies To Grow Your Business
Cotgin Analytics |08-Mar-2024

Why Business Need Omnichannel Strategy?
Cotgin Analytics |06-Mar-2024
Mastering In LinkedIn Advertising :Tips to Targeting B2B Audiences
Cotgin Analytics |04-Mar-2024

Web Development Technologies To Use In 2024
Cotgin Analytics |01-Mar-2024

Best Content Marketing Trends You Need To Know In 2024
Cotgin Analytics |28-Feb-2024
Emerging Digital Marketing Trends You Must Know
Cotgin Analytics |26-Feb-2024
Top Technologies For Metaverse Development
Cotgin Analytics |23-Feb-2024

Features You Must Consider In ECommerce Website
Cotgin Analytics |21-Feb-2024
Best 10 SEO Tools to Improve Ranking
Cotgin Analytics |15-Feb-2024
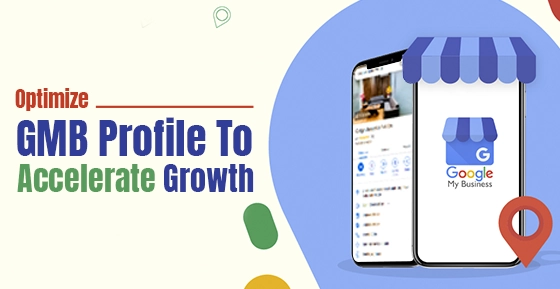
How To Optimize Google My Business Profile To Accelerate Growth?
Cotgin Analytics |14-Feb-2024

How Is SEO Different From PPC?
Cotgin Analytics |01-Feb-2024

Which Is Better For Your Website Wordpress Or PHP?
Cotgin Analytics |19-Jan-2024
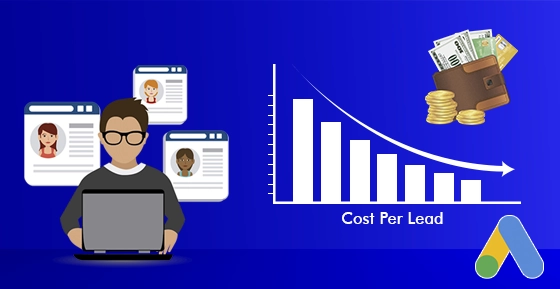
Best 9 Ways To Decrease Cost Per Leads In Google Ads Campaign
Cotgin Analytics |16-Jan-2024
Why Is E-Learning App Important For Education In 2024?
Cotgin Analytics |12-Jan-2024
How CRM Can Help Your Business To Boost Sales?
Cotgin Analytics |11-Jan-2024

How To Choose Ecommerce Website Design Company For Online Store?
Cotgin Analytics |03-Dec-2023

Top Reasons Why Your Business Needs SEO
Cotgin Analytics |05-Nov-2024

How To Use Google Shopping Ads Effectively To Boost Your Sales?
Cotgin Analytics |09-Dec-2024
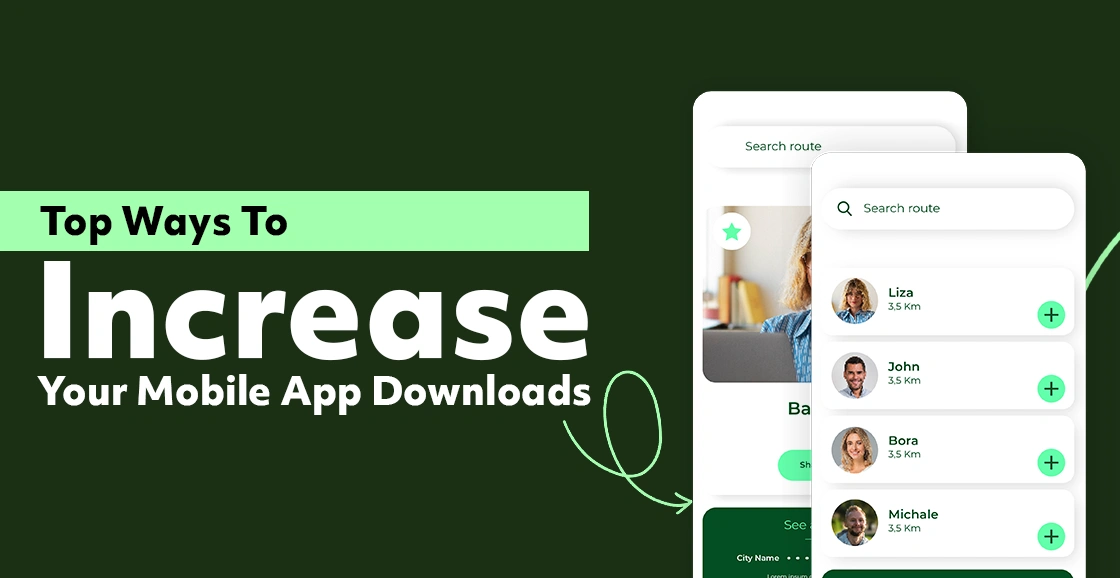
Top Ways To Increase Your Mobile App Downloads
Cotgin Analytics |18-Dec-2024

Why Do Companies Spend On Advertising?
Cotgin Analytics |26-Dec-2024
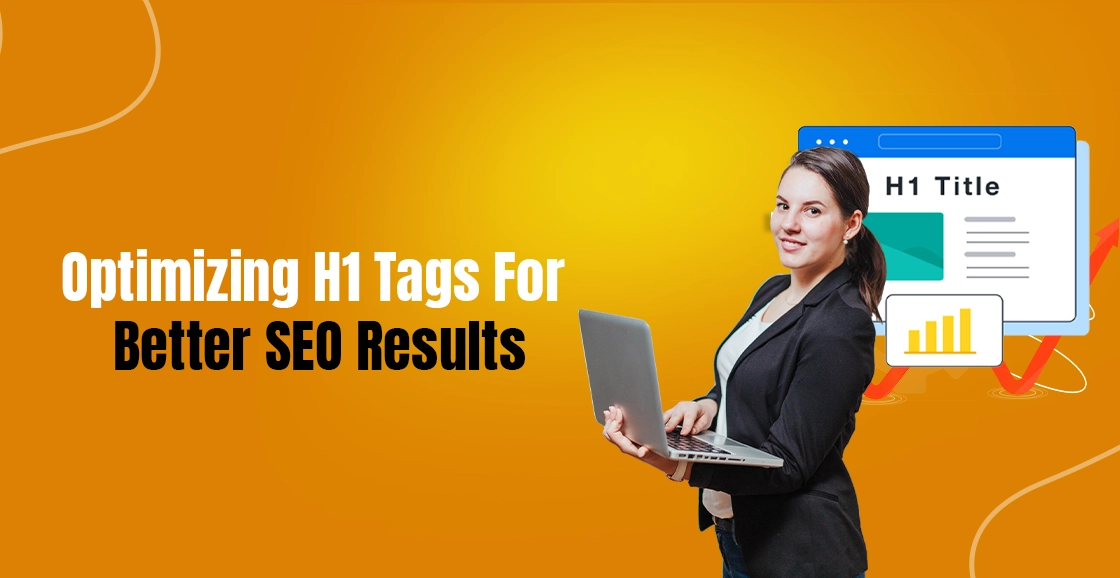
Optimizing H1 Tags For Better SEO Results
Cotgin Analytics |03-Jan-2025

Why Laravel Is The Key To Your Next Successful Web Project?
Cotgin Analytics |07-Jan-2025

Advantages Of WordPress Development In 2025
Cotgin Analytics |10-Jan-2025

What Is The Importance Of SEO For An E-commerce Website?
Cotgin Analytics |14-Jan-2025

What Is The Difference Between UI/UX Design And Web Design?
Cotgin Analytics |16-Jan-2025

Why Your Business Needs A Professional Logo Design?
Cotgin Analytics |20-Jan-2025

How To Become Great IN Content Writing?
Cotgin Analytics |23-Jan-2025

Digital Marketing Tips For Law Firms
Cotgin Analytics |29-Jan-2025

What Are The Benefits Of Laravel Development?
Cotgin Analytics |31-Jan-2025

Web Design Services: Your Gateway To Digital Success
Cotgin Analytics |04-Feb-2025

Transform Your Website With A Premier PHP Web Development Company In Delhi
Cotgin Analytics |07-Feb-2025

Top Google Ads Trends You Cannot Ignore In 2025
Cotgin Analytics |13-Feb-2025

What Is A Landing Page And How Would You Use It?
Cotgin Analytics |14-Feb-2025
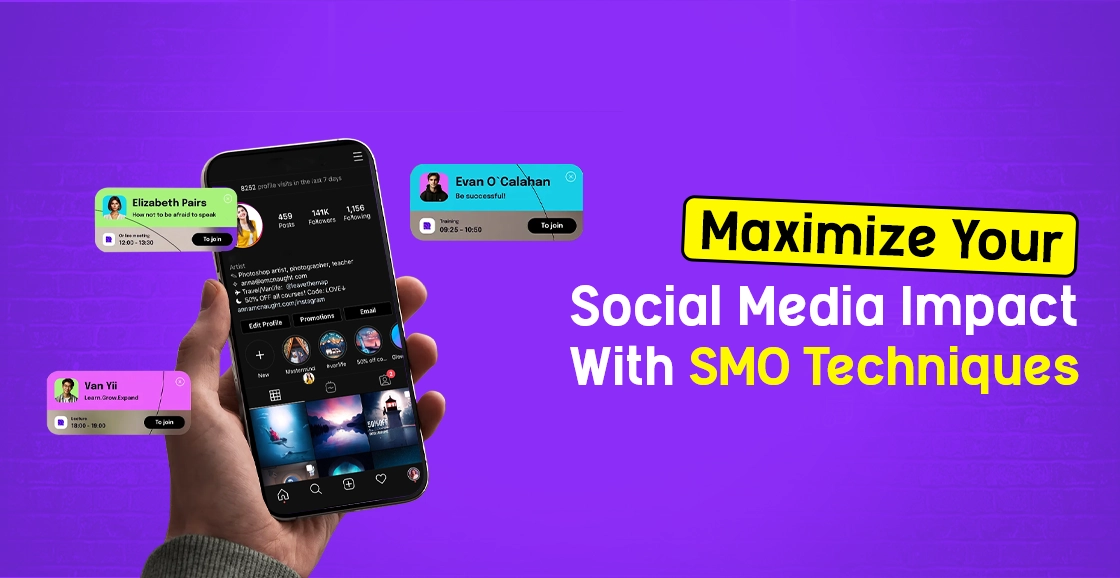
Maximize Your Social Media Impact With SMO Techniques
Cotgin Analytics |19-Feb-2025
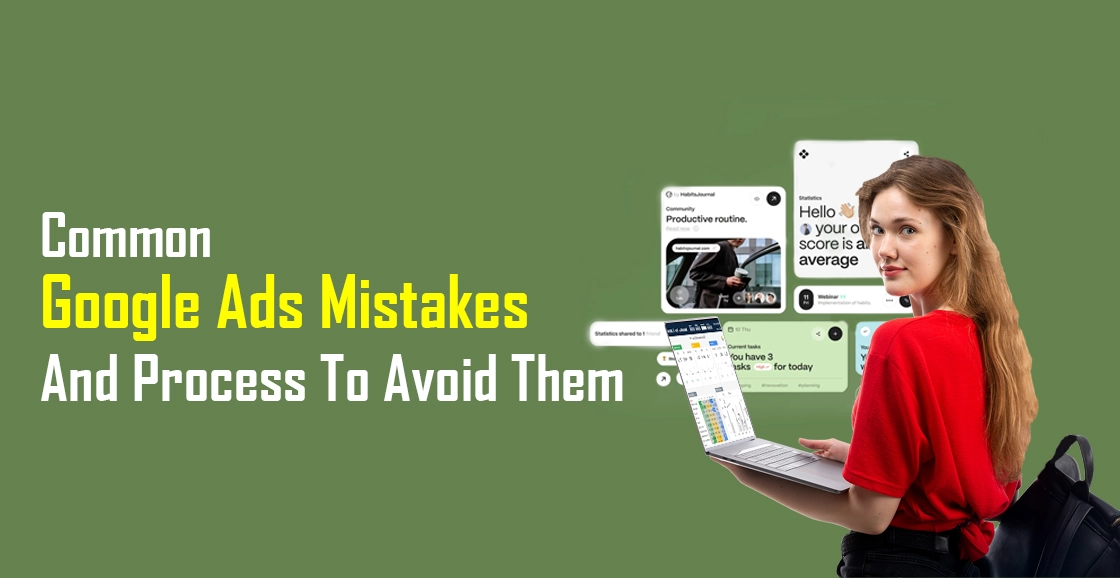
Common Google Ads Mistakes And Process To Avoid Them
Cotgin Analytics |24-Feb-2025

How To Improve Website Performance?
Cotgin Analytics |27-Feb-2025
How Content Writing Services Can Transform Your Online Presence?
Cotgin Analytics |03-Mar-2025

What Is The Main Purpose Of Chatbot?
Cotgin Analytics |10-Mar-2025

What Is Organic Traffic? & How To Drive It To Your Website?
Cotgin Analytics |12-Mar-2025
Mastering Responsive Website Design For Better Performance
Cotgin Analytics |17-Mar-2025

How A WordPress Development Agency Can Elevate Your Online Presence?
Cotgin Analytics |21-Mar-2025

Why Your Business Needs A UI/UX Design Agency In 2025?
Cotgin Analytics |24-Mar-2025

How An SEO Agency In Delhi Can Elevate Your Search Ranking?
Cotgin Analytics |27-Mar-2025

Innovative Logo Design Services In Delhi To Boost Your Business
Cotgin Analytics |31-Mar-2025

The Importance Of Regular Website Maintenance For Long-Term Growth
Cotgin Analytics |03-Apr-2025
Google Ads vs. Facebook Ads: What Works Best For Brand Growth?
Cotgin Analytics |08-Apr-2025

Boost User Engagement With Dynamic Website Designing In 2025
Cotgin Analytics |11-Apr-2025

Mobile-Friendly E-commerce Design: Why It Matters More Than Ever?
Cotgin Analytics |15-Apr-2025

Future-Proof Your Business With A Website Development Agency
Cotgin Analytics |18-Apr-2025

Best Content Marketing Trends For 2025
Cotgin Analytics |22-Apr-2025

Best Features Offered By Website Development Companies In Noida
Cotgin Analytics |25-Apr-2025